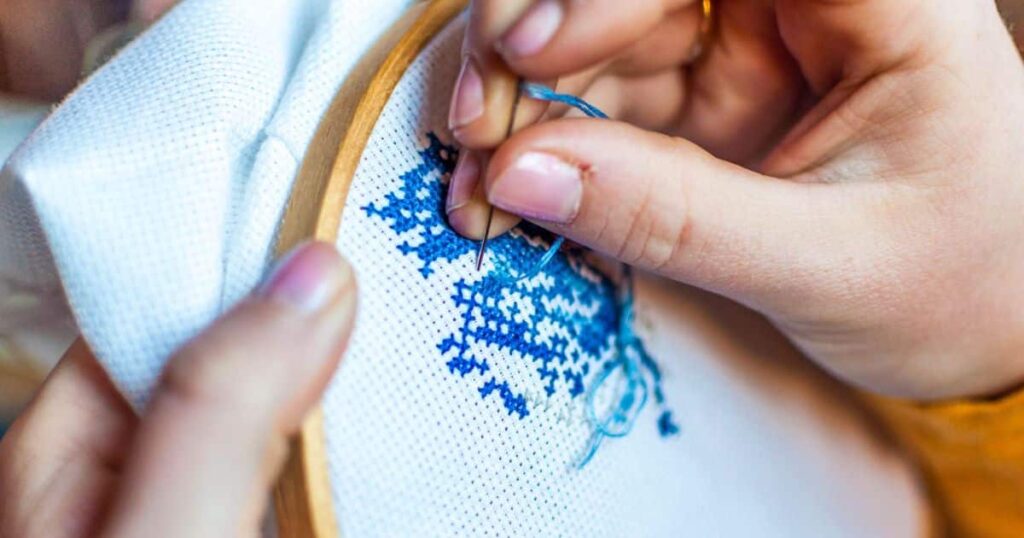
Discover the exquisite art of cross stitching on linen, where threads intertwine and create stunning masterpieces. With its delicate texture and timeless elegance, linen fabric provides the perfect canvas for your creative needlework.
In this comprehensive guide, we will delve into the intricacies of working with linen, from selecting the right fabric and thread to understanding patterns and correcting mistakes. Join us as we embark on a journey of skillful craftsmanship, unlocking the secrets of cross stitching on linen.
Key Takeaways
- Choose linen fabric with the appropriate weight and thread count.
- Select thread color that complements the fabric’s natural tones.
- Use cross stitch patterns specifically designed for linen fabric.
- Prepare the fabric by ironing out wrinkles or creases before starting.
Choosing the Right Linen Fabric
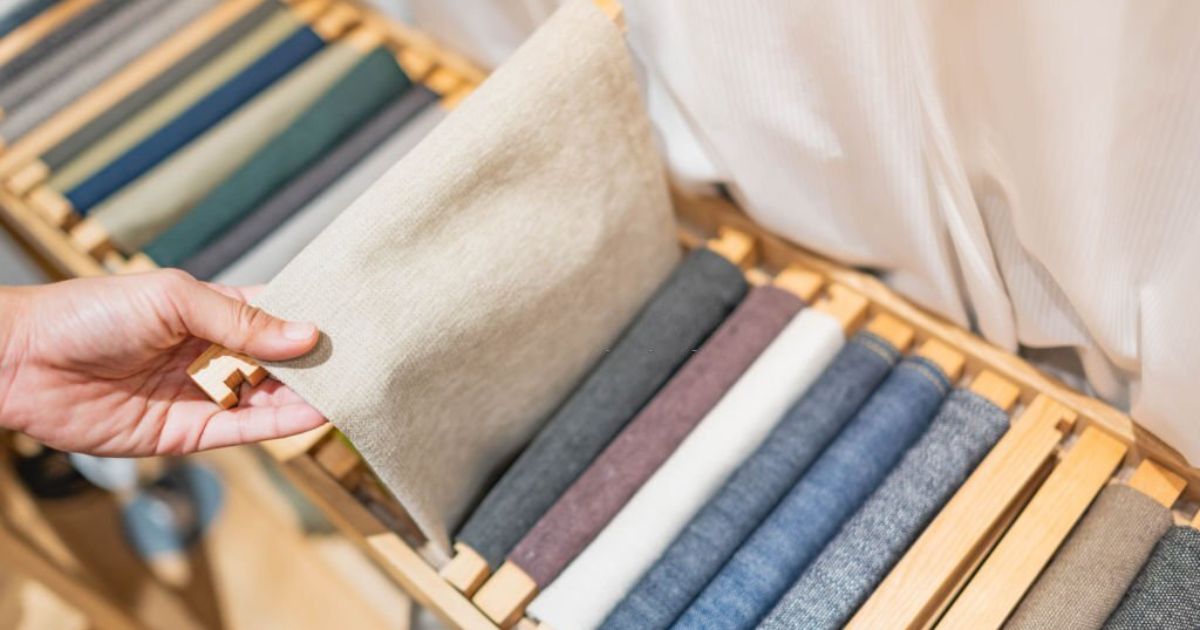
To ensure the best results in cross stitching on linen thread, it is essential to carefully select the appropriate linen fabric. Linen comes in different weights and thread counts, ranging from lightweight to heavy.
For beginners, a medium-weight linen with a higher thread count is recommended as it offers a good balance between ease of stitching and durability.
Choose a linen fabric that has a tight weave to prevent the threads from fraying or distorting during the stitching process.
Preparing Your Linen for Cross Stitching
After carefully selecting the appropriate linen fabric for your cross stitching project, it is crucial to prepare the fabric before you begin stitching. To prepare your linen, start by washing it in cold water with a mild detergent to remove any dirt or sizing.
Avoid using bleach or fabric softeners as they can damage the fibers. After washing, gently iron the linen on a low heat setting to remove any wrinkles. This will ensure that your fabric is clean, smooth, and ready for stitching.
Selecting the Perfect Thread for Linen
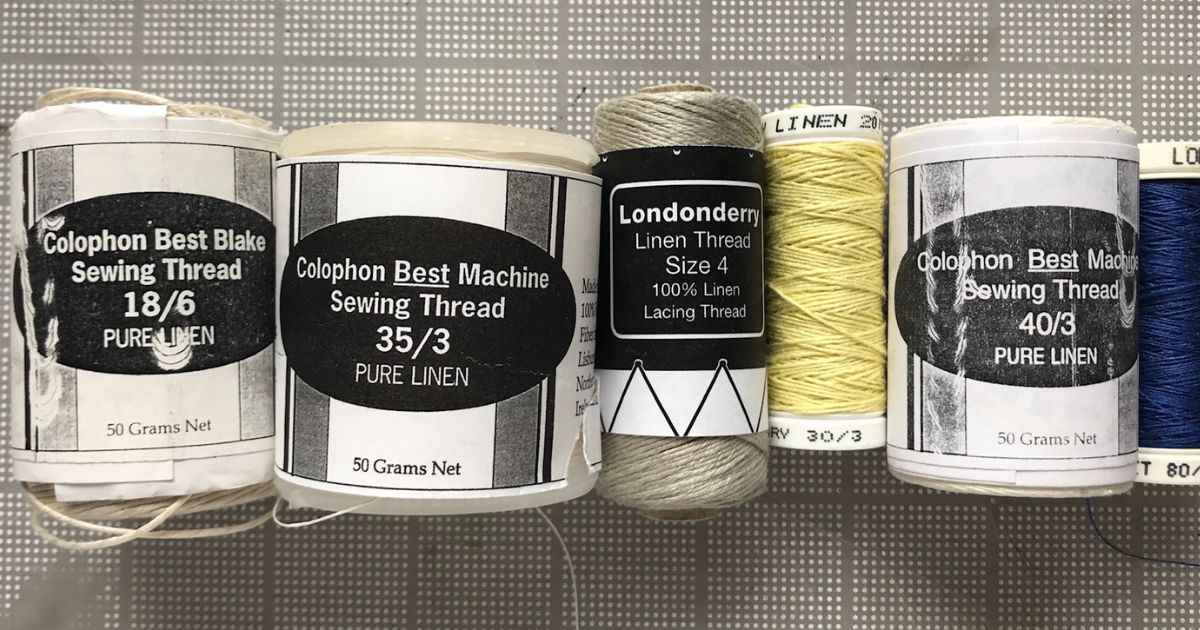
When selecting the perfect thread for cross stitching on linen, there are two main considerations: thread color and thread weight. The color of the thread should complement the fabric, while the weight of the thread should be appropriate for the linen’s weave and count.
By carefully considering these factors, you can ensure that your cross stitch project on linen turns out beautifully.
Thread Color Recommendations
One approach for selecting the perfect thread color for linen is to consider using an indefinite pronoun that complements the fabric’s natural tones. Neutral shades such as beige, taupe, or cream can enhance the natural beauty of linen and create a harmonious blend.
Earthy tones like olive green or warm browns can add depth and richness to the fabric. Experimenting with different thread colors can help create a cohesive and visually appealing cross-stitch design on linen.
Thread Weight Considerations
To ensure optimal results when cross stitching on linen, it is crucial to carefully consider the thread weight that is best suited for the fabric. Linen is a delicate fabric with a tight weave, so it requires a thinner thread to achieve a balanced and professional-looking cross stitch.
A thread weight of 28 or 32 is recommended for linen, as it will provide the right amount of coverage without overpowering the fabric.
Understanding Cross Stitch Patterns for Linen
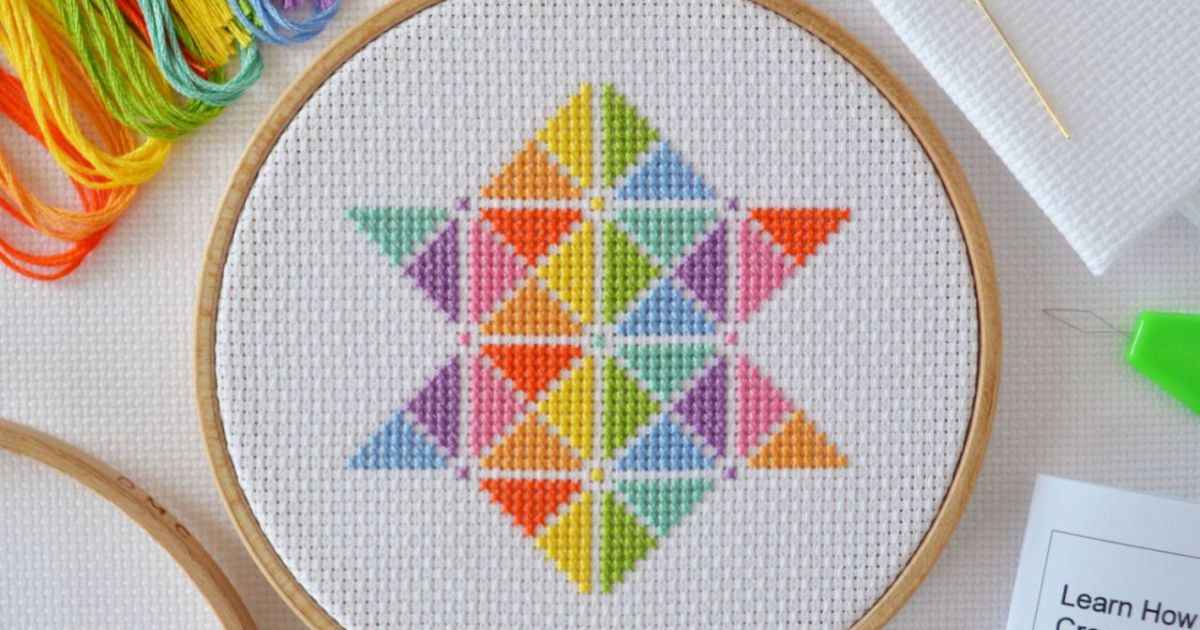
To accurately cross stitch on linen, it is essential to have a thorough understanding of the cross stitch patterns designed specifically for this fabric. Linen is a delicate material that requires careful handling and attention to detail.
When choosing a cross stitch pattern for linen, it is important to consider the fabric’s thread count and texture. Opt for patterns that are designed to be stitched on linen, as they will provide clear instructions and guidelines for achieving the best results on this particular fabric.
Starting Your Cross Stitch on Linen
To begin your cross stitch on linen, gather all necessary materials and ensure you have a clean, flat surface to work on. Here are four steps to get started:
- Prepare your fabric by ironing out any wrinkles or creases.
- Find the center of your fabric by folding it in half horizontally and vertically.
- Mark the center with a temporary stitch or a water-soluble fabric marker.
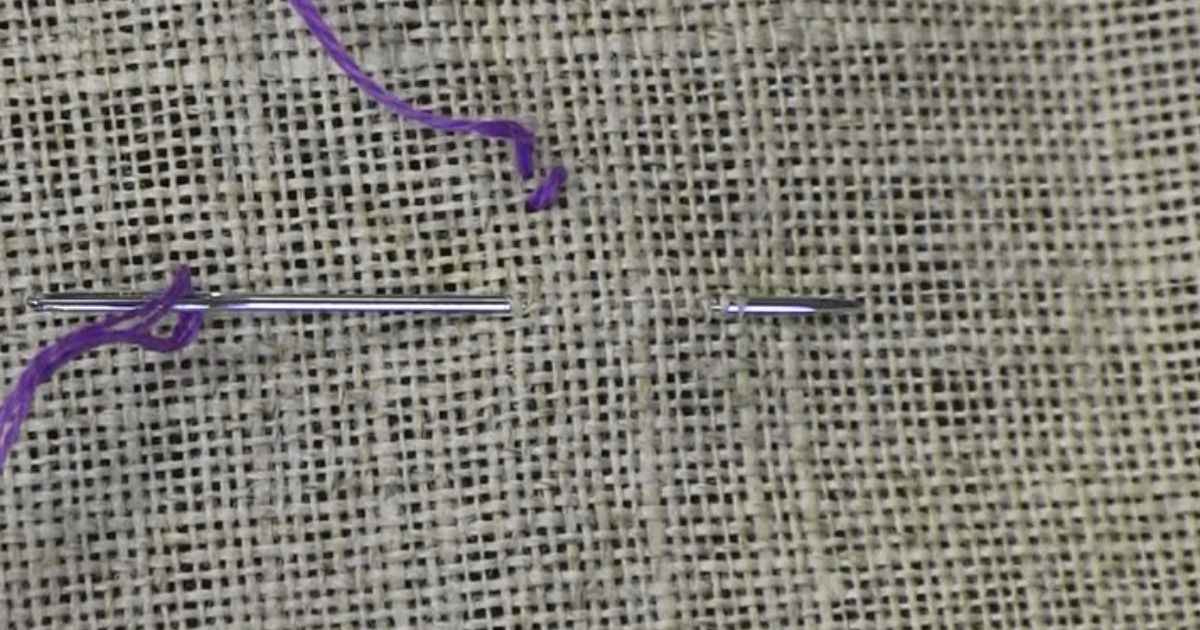
- Thread your needle with a single strand of embroidery floss and tie a knot at the end.
Now that you have prepared your linen, you are ready to learn the proper stitching techniques for linen.
Proper Stitching Techniques for Linen
Mastering the proper stitching techniques for linen requires precision and attention to detail. When working with linen, it is important to use a smaller needle size to prevent the fabric from distorting.
Begin by anchoring the thread securely on the back of the fabric before bringing it to the front. Ensure that each stitch is evenly spaced and that the tension is consistent throughout.
Take your time and be mindful of the fabric’s delicate nature to create beautiful and precise cross stitches on linen.
Handling Mistakes on Linen Fabric
When working with linen fabric, it is important to know how to handle mistakes effectively. Here are four tips to help you navigate and fix any errors that may occur while cross stitching on linen:
- Take a deep breath and remain calm. Panicking will only make the mistake worse.
- Carefully remove the stitches around the mistake using a small pair of embroidery scissors or a seam ripper.
- Once the mistake is unraveled, use a needle and thread to re-stitch the correct pattern in the affected area.
- Take your time and double-check your work to ensure the mistake has been corrected properly.
Blocking and Finishing Your Linen Project
Once you have completed your cross stitching on linen and fixed any mistakes, the next step is to block and finish your linen project.
Blocking helps to ensure that your project maintains its shape and size, while finishing adds the final touches to make it ready for display.
Here is a table outlining the steps for blocking and finishing your linen project:
| Blocking | Finishing |
|---|---|
| 1. Gently wash your project in cold water | 1. Trim any excess fabric |
| 2. Lay it flat on a clean towel to dry | 2. Iron your project on the reverse side |
| 3. Pin the corners to keep the shape intact | 3. Frame your project or sew it onto a fabric backing |
| 4. Leave it to dry completely before removing the pins | 4. Hang or display your finished linen project |
Caring for Cross Stitched Linen Pieces
Caring for cross-stitched linen pieces is essential to maintain their beauty and longevity. When washing linen delicately, it’s important to use a gentle detergent and cold water to prevent damage.
Proper storage in acid-free tissue paper or a fabric bag can help protect the stitched linen from dust and fading.
Washing Linen Delicately
To maintain the integrity of your cross-stitched linen pieces, it is essential to handle the washing process delicately. Here are some tips to help you care for your cross-stitched linen pieces:
- Use a gentle detergent specifically designed for delicate fabrics.
- Hand wash your linen pieces in lukewarm water.
- Avoid scrubbing or rubbing the fabric vigorously.
- Rinse thoroughly and gently squeeze out excess water before laying flat to dry.
Storing Stitched Linen
Proper storage is crucial for maintaining the longevity and quality of your cross-stitched linen pieces. When storing your stitched linen, it is important to keep it away from direct sunlight, as prolonged exposure can cause fading and damage.
Additionally, avoid storing it in humid or damp areas to prevent mold or mildew growth. It is recommended to store your pieces in acid-free tissue paper or archival boxes to protect them from dust and insects.
By following these storage guidelines, you can ensure the preservation of your cherished cross-stitched linen pieces.
Avoiding Color Fading
To prevent color fading in cross-stitched linen pieces, proper care and handling are essential. Here are four tips to help you maintain the vibrancy of your stitched designs:
- Avoid exposure to direct sunlight: Ultraviolet rays can fade the colors over time. Store your cross-stitched linen pieces in a cool, dark place to protect them from sunlight.
- Use acid-free materials: Acidic materials can cause discoloration and damage to your stitches. Opt for acid-free mounting boards and framing materials.
- Wash with care: If washing is necessary, use a gentle detergent and cold water. Avoid harsh chemicals and excessive rubbing, as they can fade the colors.
- Store properly: When not in use, roll your cross-stitched linen pieces instead of folding them. This helps prevent creases and uneven fading.
Tips and Tricks for Cross Stitching on Linen
For successful cross stitching on linen, it is important to consider a few essential tips and tricks. Firstly, choose the right linen fabric with a higher thread count for better stitch definition. Use a hoop or frame to keep the fabric taut and prevent distortion.
When threading the needle, use a smaller size needle and wax the thread for easier insertion. Finally, work in good lighting and take breaks to avoid eye strain.
By following these tips, you can ensure a smooth and enjoyable cross stitching experience on linen.
Frequently Asked Questions
How Do I Prevent My Linen Fabric From Fraying While Cross Stitching?
To prevent linen fabric from fraying while cross stitching, you can use a few techniques. Adding a fabric stabilizer or fray-check along the edges, using a hoop or frame, and handling the fabric gently can all help maintain its integrity.
Are There Any Special Techniques for Stitching on Linen Fabric With Metallic Threads?
When working with metallic threads on linen fabric, it is important to employ special techniques to ensure optimal results. These techniques involve using shorter strands, using a laying tool, and securing the threads more frequently to prevent unraveling.
Can I Use a Hoop or Frame to Hold My Linen Fabric While Cross Stitching?
Yes, a hoop or frame can be used to hold linen fabric while cross stitching. It helps keep the fabric taut, preventing distortion and ensuring accurate stitches. Adjust the tension as needed for optimal stitching.
What Is the Best Way to Remove Wrinkles From My Linen Fabric Before Starting a Project?
The best way to remove wrinkles from linen fabric before starting a project is to gently steam it with a garment steamer or iron it on the lowest heat setting. Be cautious not to press too hard to avoid damaging the fabric.
How Do I Choose the Right Needle Size for Cross Stitching on Linen Fabric?
To choose the right needle size for cross stitching on linen fabric, consider the fabric’s thread count. A higher thread count requires a smaller needle, while a lower thread count requires a larger needle. Experiment with different sizes to achieve the desired effect.
Conclusion
In conclusion, cross stitching on linen requires careful selection of fabric, preparation, and attention to detail. By choosing the right linen fabric and thread, understanding cross stitch patterns, and properly starting and handling mistakes, you can create beautiful cross stitch projects on linen.
Blocking and finishing your project, as well as proper care, are also important for preserving your work. Like weaving a tapestry of creativity, cross stitching on linen allows you to create intricate and stunning designs.